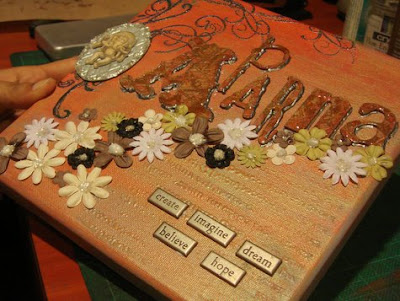
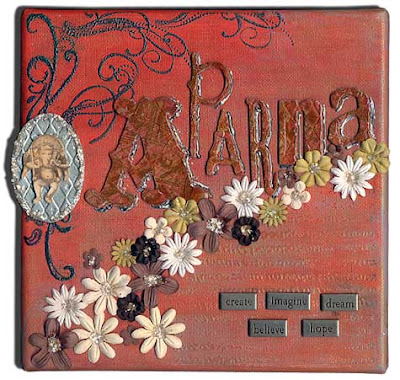
This is the last article I will be writing for S.S. Reflections. Sadly the current global economic downturn has taken its toll on us, too. I shall miss the challenge of actually doing something interesting enough to write about every month. These articles also helped me to stay in touch with my scrapbooking – something that had become increasingly difficult as my work got more time consuming!
A coincidence – my last project for SSR is a name plaque that I made to hang on my desk in the office where I started a full time job in February.
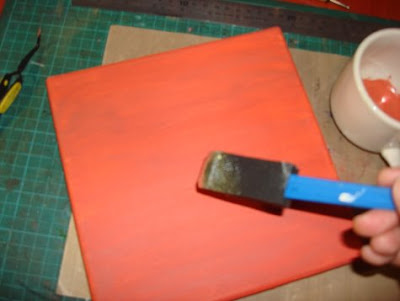
Start with a blank mounted canvas. Using a sponge brush, cover the whole canvas with an acrylic colour of your choice. I used poppy with a very few drops of sage green. I made sure to brush only in one direction so the canvas had horizontal strokes. I also coloured the outside edges so that when the finished canvas is hung on the wall, no white is visible.
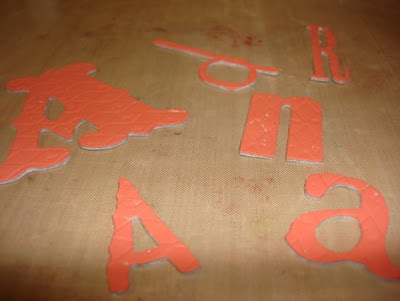
The letters are Tim Holtz grungeboard. I coloured them using the same poppy acrylic paint.
Using brown dye ink and a sponge tip, colour the edges of the letters.
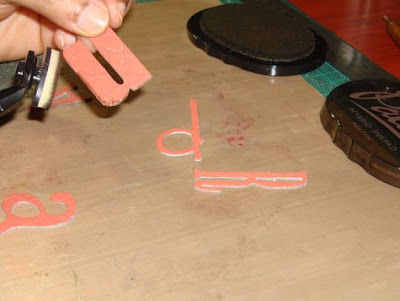
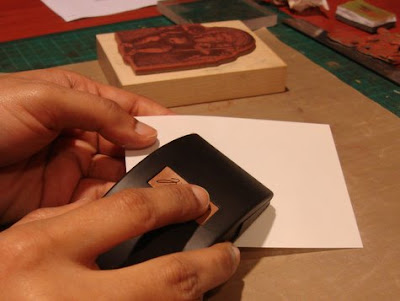
Slightly smudge the brown colour onto the front of the letters.Place all the letters close together, and using a large background stamp and distress ink, stamp the image onto the letters. Because this grungeboard has a pattern, I had to press down quite hard with my stamp to get a clear image.
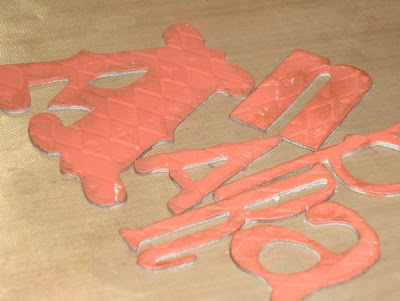
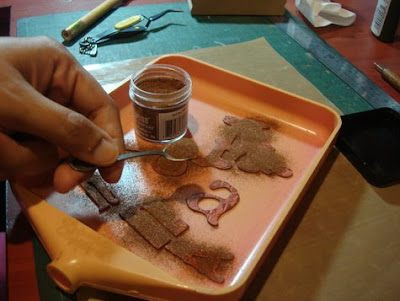
Emboss with distress embossing powder.
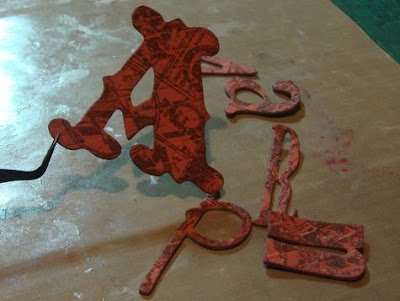
This is how the image will look on the letters after stamping and embossing.
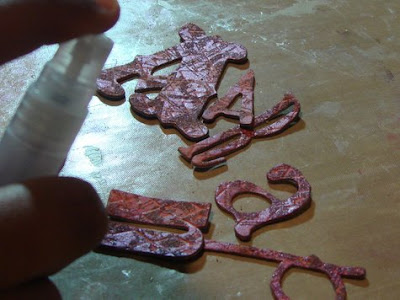
Mist the letters with water.
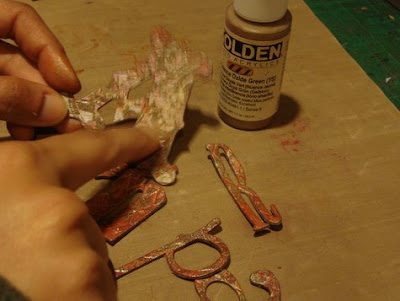
I found my finger the best tool for this next step. I put some Interference green acrylic ink on the Teflon sheet and then lightly rubbed the paint onto the letters.
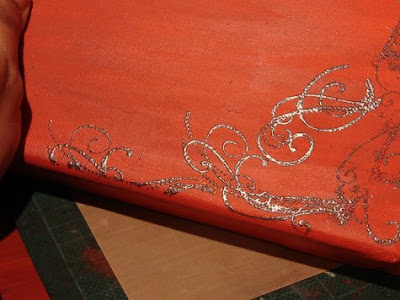
Next, I stamped and embossed some swirly patterns onto the canvas. I used regular embossing ink and EP, but I had to take some care when applying the stamp because not all parts of the canvas are wood backed and I need to apply even pressure to the whole image. Do a few dry runs (without inking your stamp) to see how you can best get even pressure onto all parts of the canvas on which you wish to stamp.
An alternative to this is drawing a design freehand using an embossing ink pen and then embossing with EP. I used this method to touch up the parts of the stamped design that did not get transferred onto the canvas.
Take a cream coloured piece of shrink plastic and sand one surface well.
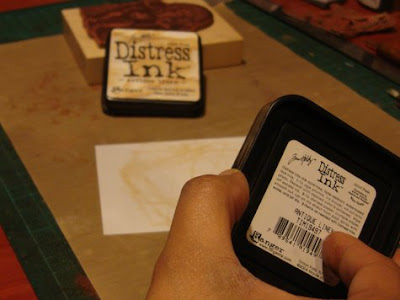
Use an ink that can be heat set and rub lightly all over the sanded surface. Use a tissue, or something similar, to blend the ink as evenly as possible all over the surface. Use a light ink and a light hand. Keep in mind that when the plastic shrinks the colours will intensify.
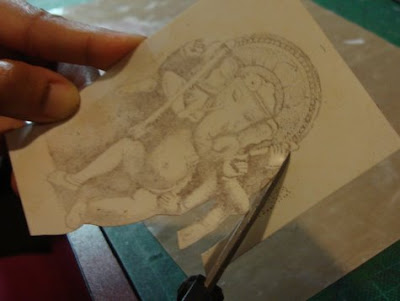
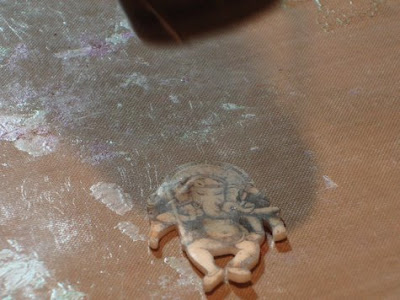
Stamp the image onto the shrink plastic using a sepia toned ink. Again, do not use a very dark ink because the colour will intensify when the image shrinks. Cut out the image, if necessary.
Heat plastic to shrink it!
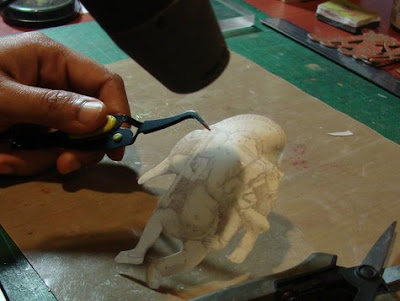
Do not worry if the shrink plastic gets all twisty – keep heating from both sides and you will find that it automatically straightens out when it has shrunk to its minimum.
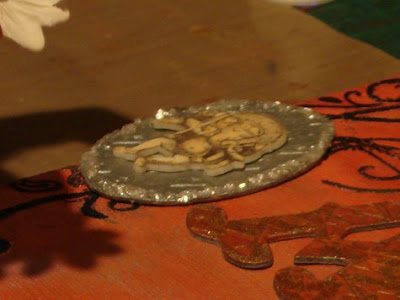
Cut out a frame for your shrink plastic image from grungeboard. Colour it with an acrylic paint. I used an interference silver.
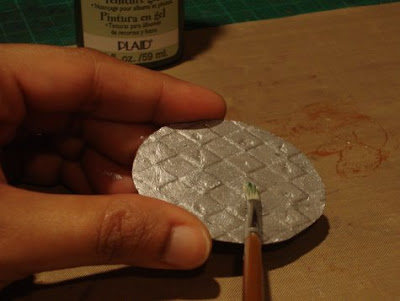
I applied a second layer of green sage gel paint to give the frame a greenish tinge.

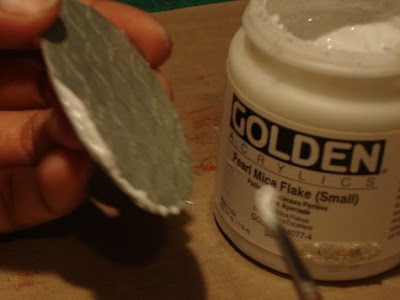
A thin line of pearl mica flakes around the edge makes an interesting border.
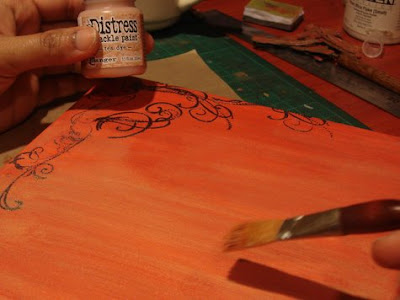
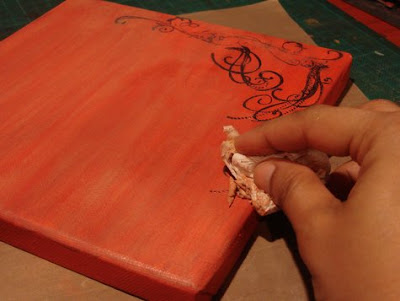
I tried some Distress crackle ink in Tea Dye but did not like the effect – too opaque and it did not look good with the poppy. So I wiped it off, but a few streaks of the paint remained. I liked the look of it.
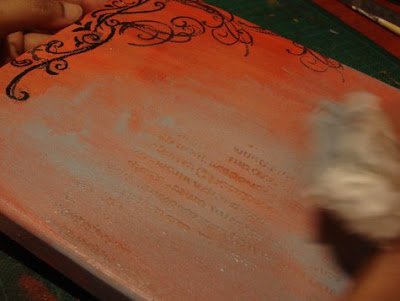
Using a tissue, wipe off any paint on the embossed design.
Use a background stamp like a script or maybe music score stamp and emboss on the opposite corner. Use an ink similar to the acrylic background and clear embossing powder.
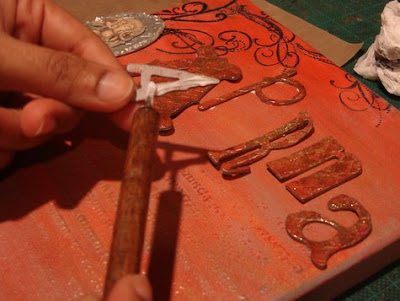
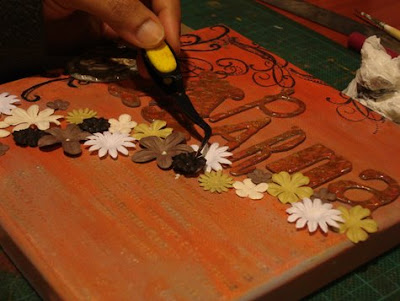
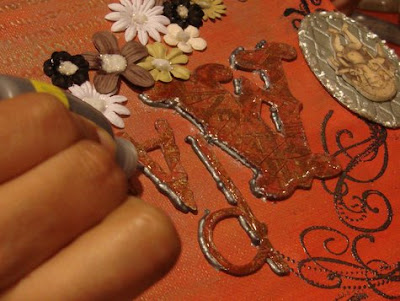
I applied a thick layer of glossy stuff on the letters and left them to dry overnight. Then, using tacky glue, I stuck the letters onto the canvas.
I then stuck the shrink plastic image onto the oval frame and then onto the side of the canvas.
Then I turned the canvas over and weighed it down and left to dry for a while so that the letters and the oval image are fixed well onto the background.

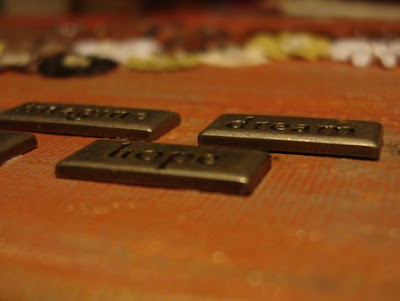
Using the same tacky glue I applied some flowers. The same pearl mica flakes in small dots made for sparkly flower centres.
A little bit of dark grey liquid pearl to create a shadow effect on the letters.
I used a Japanese paper punch to make a few holes in the canvas. Take care if you need to make the hole where the canvas has no wood backing. Prick it with a needle to indicate the position and then use the punch from the reverse. There is less possibility of the canvas tearing.
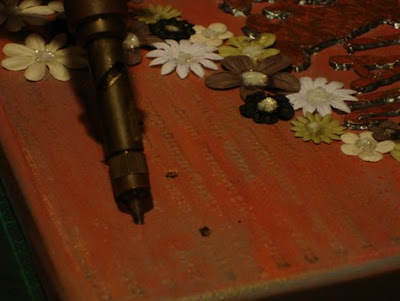
If there is wood behind you may need to pound the metal a bit harder. In any case, I used glue to help stick the metal well onto the canvas.
And here it is – for my desk – my name, a little shrine to the Hindu God Ganesha and some words to keep me motivated at work!
A coincidence – my last project for SSR is a name plaque that I made to hang on my desk in the office where I started a full time job in February.
Start with a blank mounted canvas. Using a sponge brush, cover the whole canvas with an acrylic colour of your choice. I used poppy with a very few drops of sage green. I made sure to brush only in one direction so the canvas had horizontal strokes. I also coloured the outside edges so that when the finished canvas is hung on the wall, no white is visible.

The letters are Tim Holtz grungeboard. I coloured them using the same poppy acrylic paint.

Using brown dye ink and a sponge tip, colour the edges of the letters.

Slightly smudge the brown colour onto the front of the letters.Place all the letters close together, and using a large background stamp and distress ink, stamp the image onto the letters. Because this grungeboard has a pattern, I had to press down quite hard with my stamp to get a clear image.

Emboss with distress embossing powder.

This is how the image will look on the letters after stamping and embossing.

Mist the letters with water.

I found my finger the best tool for this next step. I put some Interference green acrylic ink on the Teflon sheet and then lightly rubbed the paint onto the letters.

Next, I stamped and embossed some swirly patterns onto the canvas. I used regular embossing ink and EP, but I had to take some care when applying the stamp because not all parts of the canvas are wood backed and I need to apply even pressure to the whole image. Do a few dry runs (without inking your stamp) to see how you can best get even pressure onto all parts of the canvas on which you wish to stamp.
An alternative to this is drawing a design freehand using an embossing ink pen and then embossing with EP. I used this method to touch up the parts of the stamped design that did not get transferred onto the canvas.

Take a cream coloured piece of shrink plastic and sand one surface well.

Use an ink that can be heat set and rub lightly all over the sanded surface. Use a tissue, or something similar, to blend the ink as evenly as possible all over the surface. Use a light ink and a light hand. Keep in mind that when the plastic shrinks the colours will intensify.

Stamp the image onto the shrink plastic using a sepia toned ink. Again, do not use a very dark ink because the colour will intensify when the image shrinks. Cut out the image, if necessary.

Heat plastic to shrink it!

Do not worry if the shrink plastic gets all twisty – keep heating from both sides and you will find that it automatically straightens out when it has shrunk to its minimum.

Cut out a frame for your shrink plastic image from grungeboard. Colour it with an acrylic paint. I used an interference silver.

I applied a second layer of green sage gel paint to give the frame a greenish tinge.

A thin line of pearl mica flakes around the edge makes an interesting border.

I tried some Distress crackle ink in Tea Dye but did not like the effect – too opaque and it did not look good with the poppy. So I wiped it off, but a few streaks of the paint remained. I liked the look of it.

Using a tissue, wipe off any paint on the embossed design.

Use a background stamp like a script or maybe music score stamp and emboss on the opposite corner. Use an ink similar to the acrylic background and clear embossing powder.

I applied a thick layer of glossy stuff on the letters and left them to dry overnight. Then, using tacky glue, I stuck the letters onto the canvas.

I then stuck the shrink plastic image onto the oval frame and then onto the side of the canvas.

Then I turned the canvas over and weighed it down and left to dry for a while so that the letters and the oval image are fixed well onto the background.

Using the same tacky glue I applied some flowers. The same pearl mica flakes in small dots made for sparkly flower centres.

A little bit of dark grey liquid pearl to create a shadow effect on the letters.

I used a Japanese paper punch to make a few holes in the canvas. Take care if you need to make the hole where the canvas has no wood backing. Prick it with a needle to indicate the position and then use the punch from the reverse. There is less possibility of the canvas tearing.

If there is wood behind you may need to pound the metal a bit harder. In any case, I used glue to help stick the metal well onto the canvas.

And here it is – for my desk – my name, a little shrine to the Hindu God Ganesha and some words to keep me motivated at work!

